Building a solid foundation starts with the right knowledge.
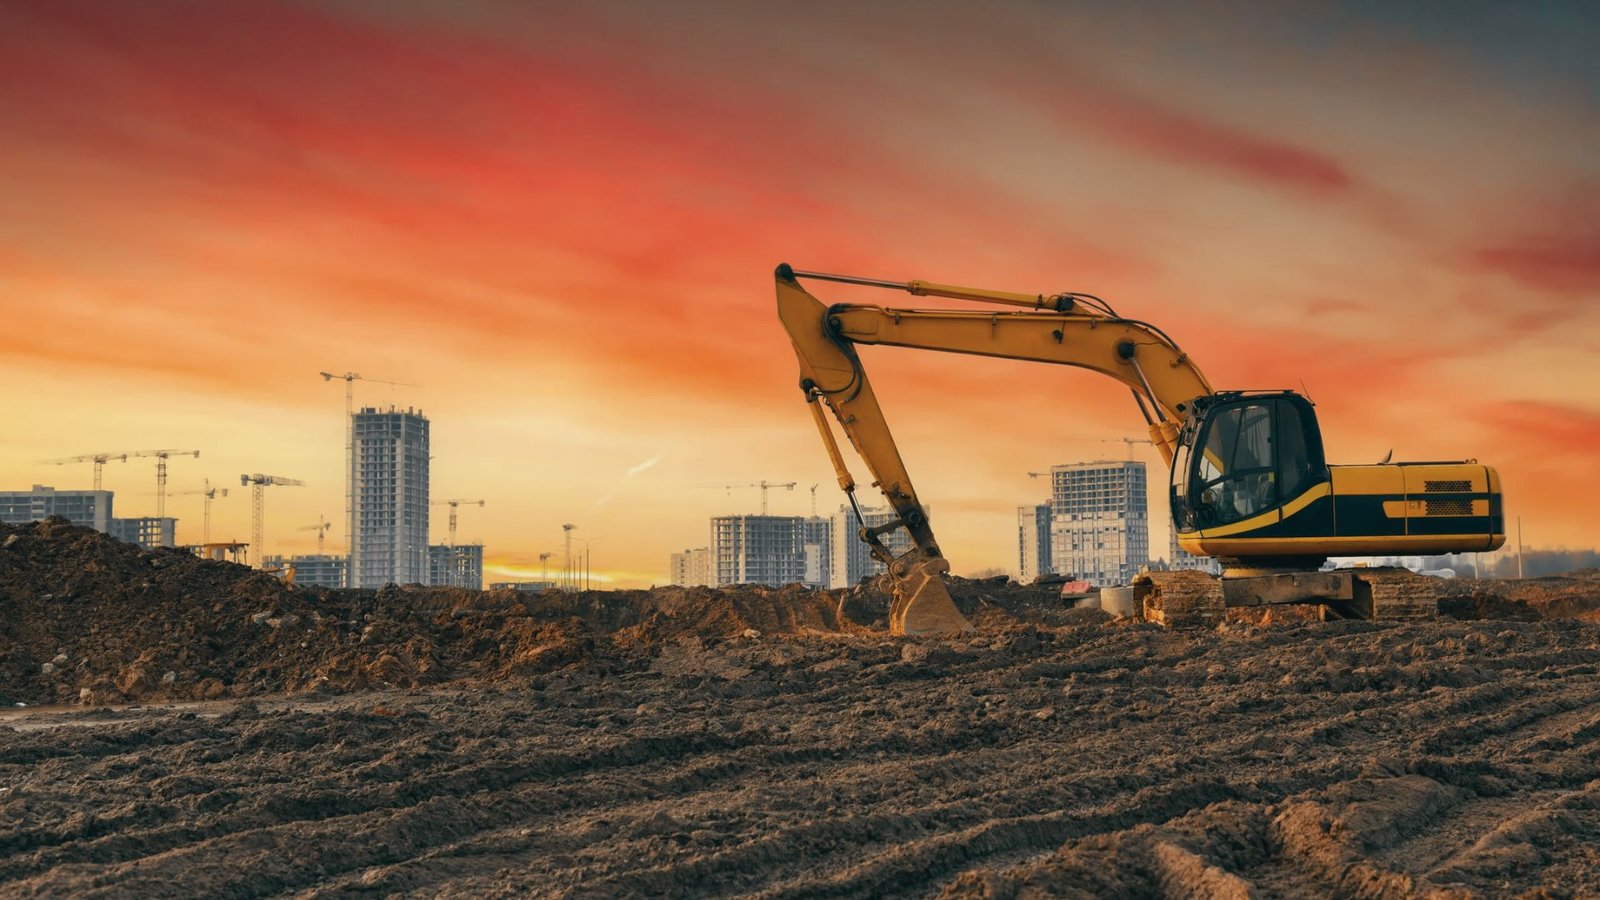
Slab on grade construction is one of the most common foundation methods used today. But many beginners have no idea where to start. This guide breaks it all down for you in simple steps.
We will cover everything from site preparation to long term care. You will learn about soil compaction, reinforcement, moisture protection, and common problems to avoid.
I have put this guide together to save you time, confusion, and costly mistakes.
By the end, you will know exactly what goes into building a slab that lasts. Let’s get into it.
What Is Slab on Grade Construction?
Slab on grade construction is a method where a flat concrete slab is poured directly onto prepared ground, serving as both the foundation and the floor of a building.
The slab is usually 4 to 6 inches thick and reinforced with steel rebar for strength. It skips the need for a basement or crawl space, making it a faster and more affordable foundation option.
Plumbing lines are placed beneath the slab during the pour, so future pipe repairs may require extra work.
Advantages and Limitations of Slab Foundations
Slab foundations offer real benefits but also come with drawbacks that depend on location, soil type, and climate conditions.
Key Benefits for Home and Commercial Buildings
Slab foundations cost less to build and take less time to complete. There is no deep digging or complex support structure needed, which keeps construction simple and affordable.
With no open space underneath, pests like termites and rodents have fewer ways to get in. There are also no crawl spaces to maintain, which cuts down on long term upkeep costs.
A properly poured slab gives the building a firm and level base. This makes it a reliable choice for both homes and commercial spaces.
Common Drawbacks and Risks
Plumbing is usually placed inside or under the slab. If a pipe breaks, repairs require cutting through the concrete, which can get expensive.
There is no space below the floor for storage or utilities. Concrete can also crack over time due to soil movement or temperature shifts, and fixing those cracks is not always simple.
Climate and Soil Conditions That Matter
Clay soil shrinks and swells with moisture changes, which puts stress on the slab and can cause cracking. Freezing climates bring frost heave risks that can shift or damage the foundation.
Slab foundations work best in warm, dry areas with stable soil. In flood prone regions or on loose, uncompacted ground, extra planning and soil testing are necessary before building.
Step by Step Slab on Grade Construction Process
Building a slab on grade requires careful planning and the right steps done in the correct order.
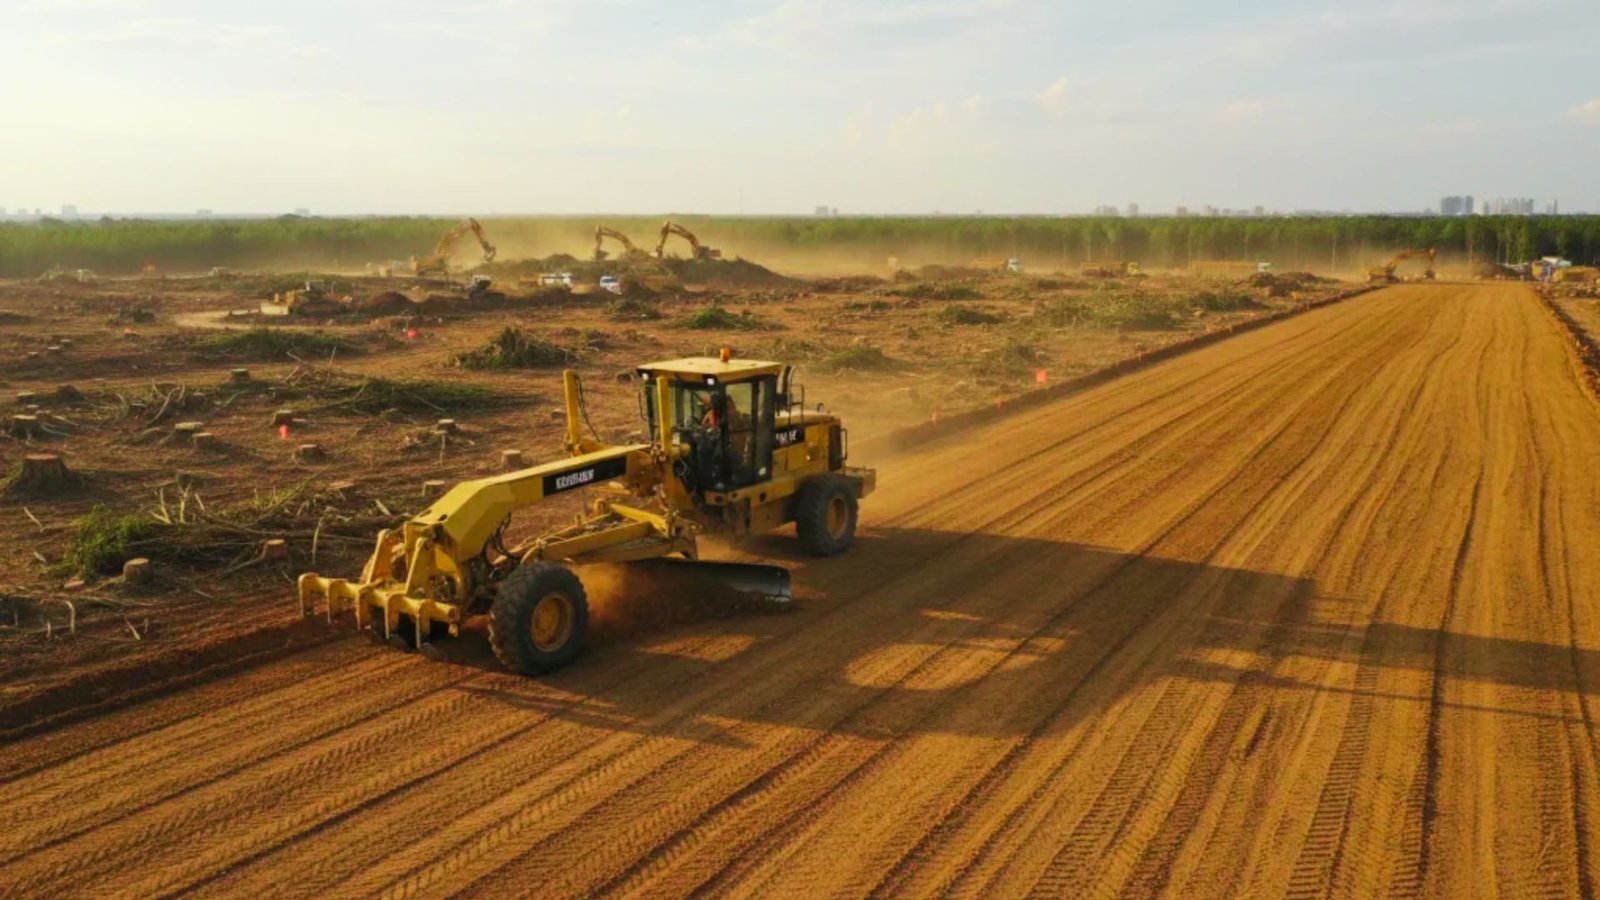
Step 1: Site Clearing and Subgrade Preparation
Remove all grass, roots, and debris from the area. Grade the ground to the correct height by filling low spots and cutting down high spots.
Replace any soft or wet areas with stable fill material. Make sure the site slopes slightly away from the building to prevent water pooling.
Step 2: Soil Compaction and Stabilization
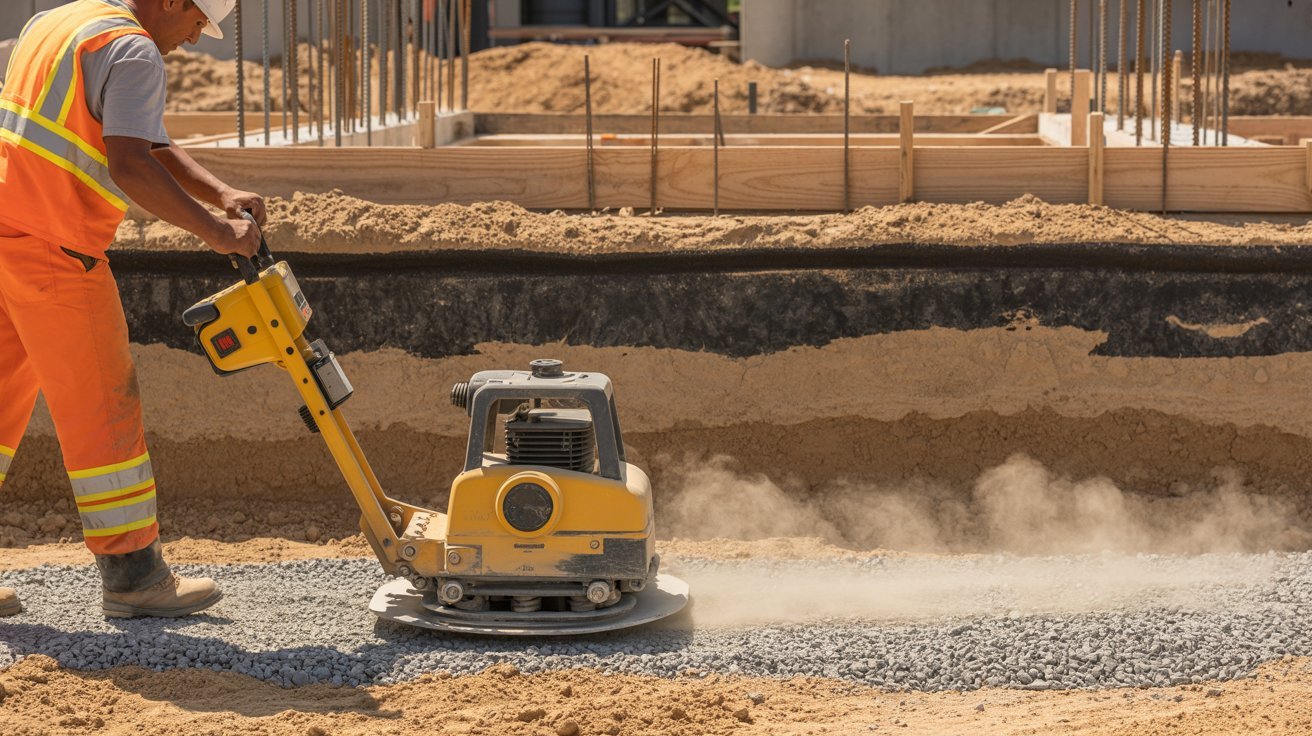
Compact the soil in layers using a plate compactor. Keep the soil slightly damp during this process for best results.
If the soil is too weak, mix in lime or cement to improve strength. Always run a compaction test before moving to the next step.
Step 3: Installing Gravel Subbase and Drainage

Spread four to six inches of crushed stone over the compacted soil. Compact the gravel and make sure the surface is flat and even.
Install drainage pipes if the site has groundwater issues. Place a plastic vapor barrier on top of the gravel to block moisture.
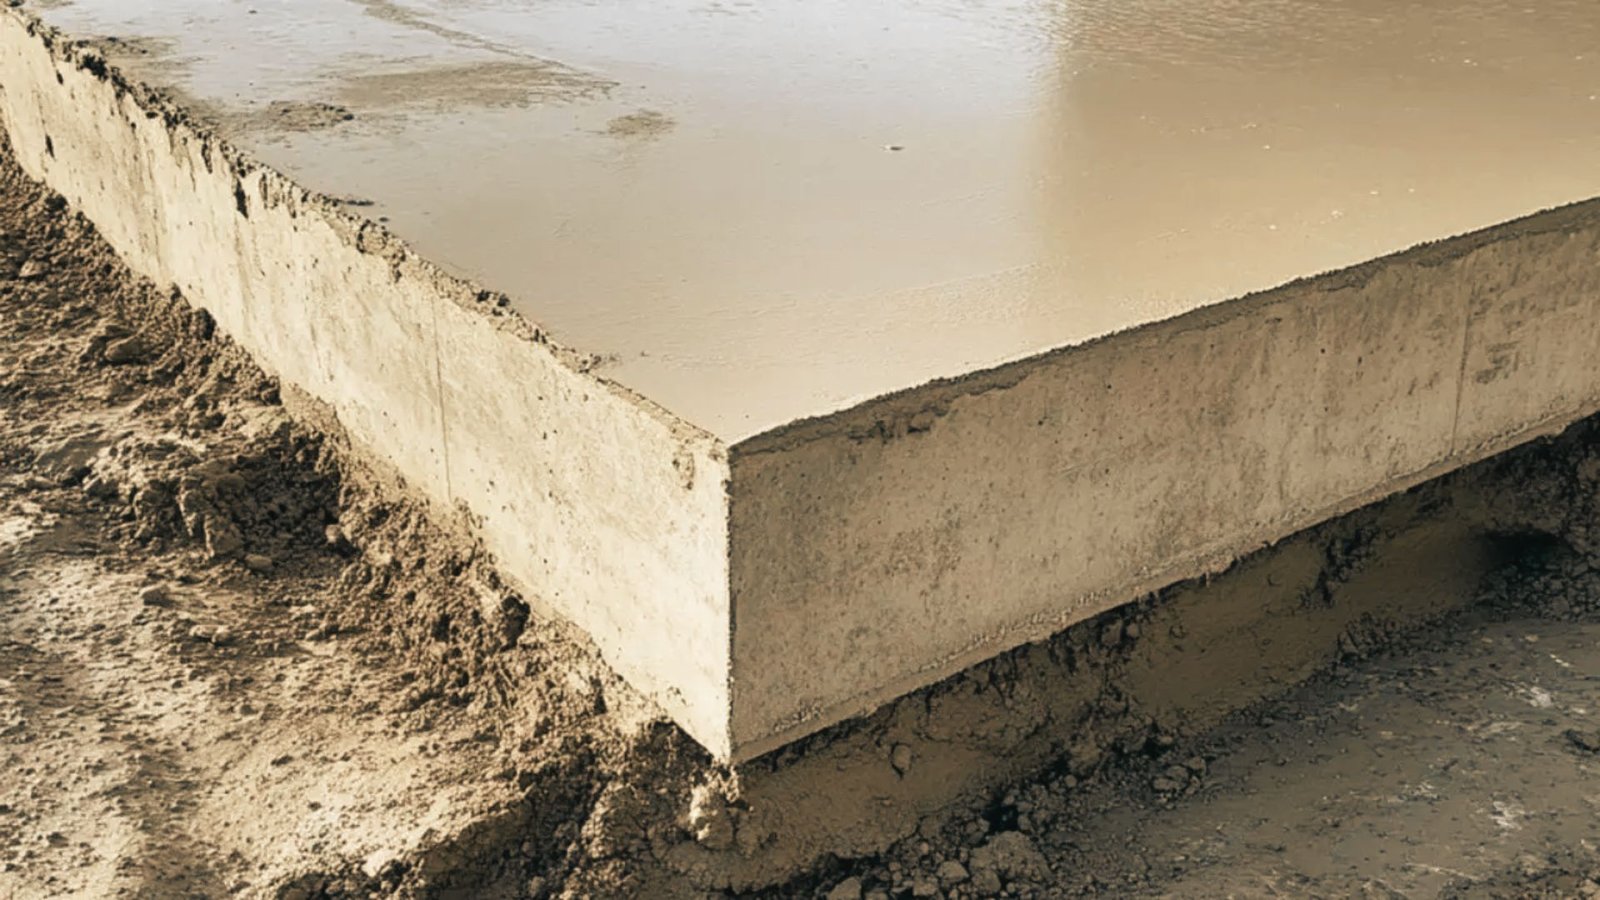
Step 4: Pouring the Concrete Slab
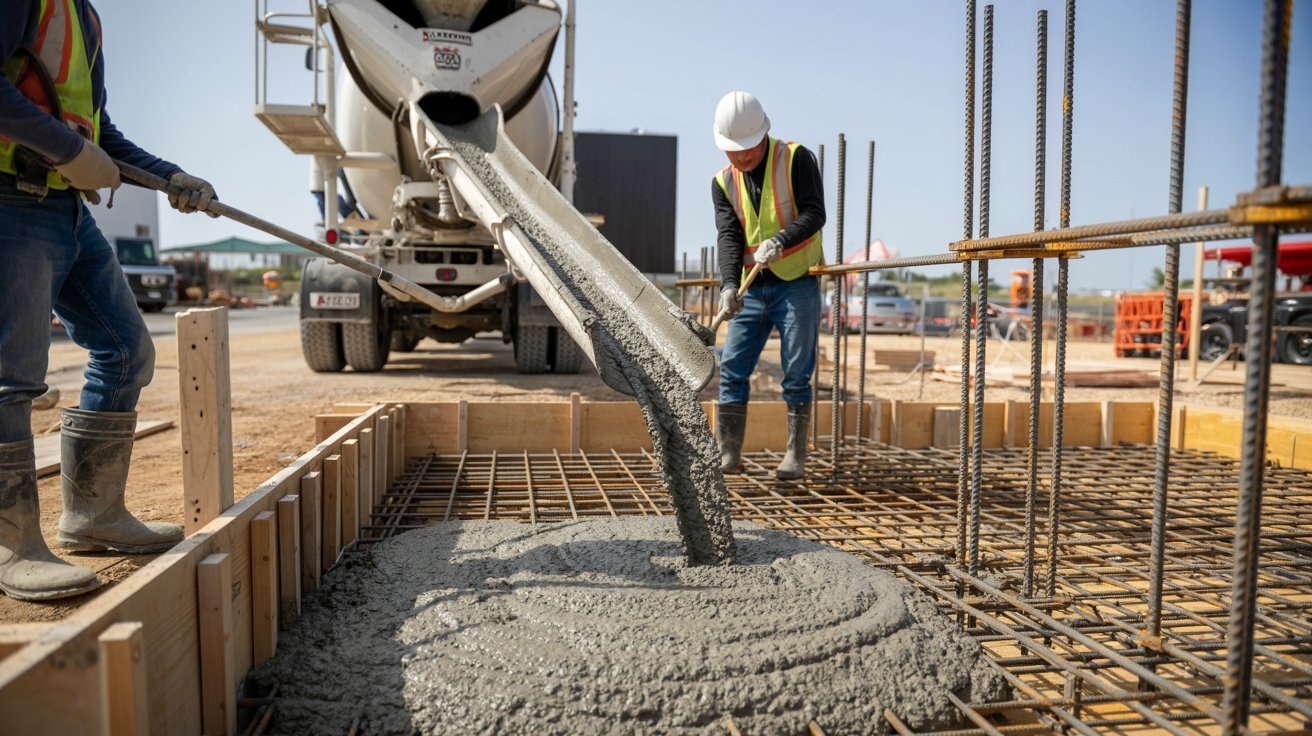
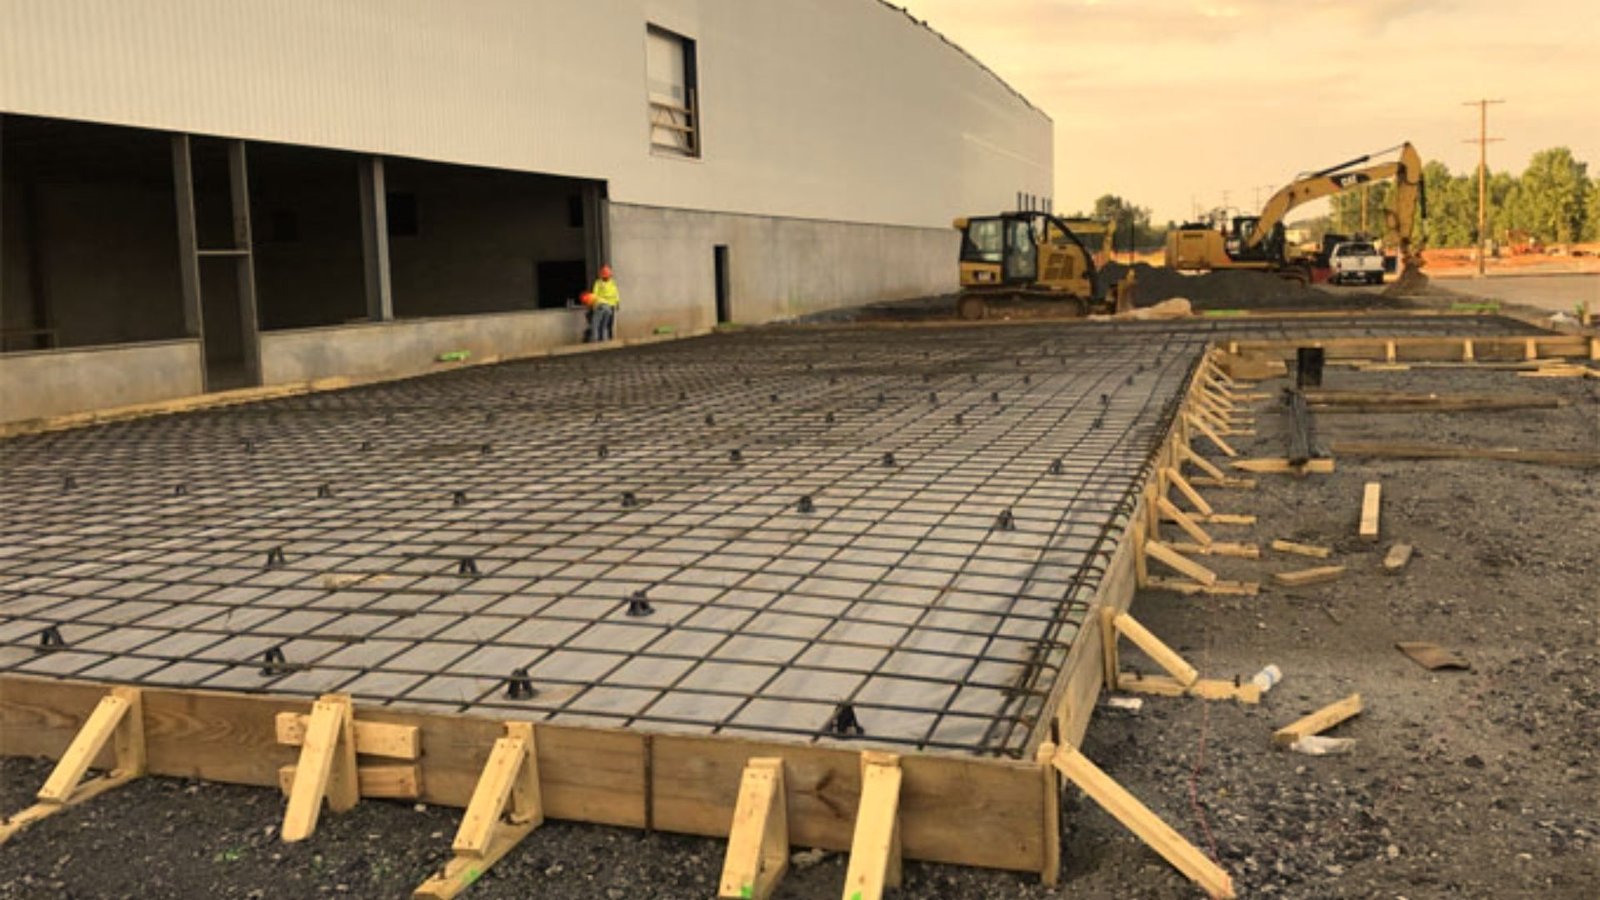
Pour the concrete into the forms and spread it evenly using a screed board. Place rebar or wire mesh in the middle of the slab for added strength.
Cut control joints into the slab to manage cracking. Try to complete the pour in one session to avoid weak joints.
Step 5: Finishing and Curing the Surface

Smooth the surface with a bull float after screeding. Use hand floats or a broom finish for grip on outdoor slabs.
Cover the slab with wet burlap or a curing compound to retain moisture. Cure for at least seven days and keep vehicles off for at least one week.
Key Design Factors in Slab Construction
Smart slab design depends on three core decisions made before pouring begins.
Load Requirements and Building Use
Every slab must be designed around what it will carry. Residential slabs handle light loads like foot traffic and vehicles.
Commercial and industrial slabs face heavier stress from machinery and constant use. Identifying both live loads and dead loads early shapes every other design decision that follows.
Choosing Slab Thickness
Thickness determines how well a slab holds up over time. Patios and interior floors generally need 4 inches, while driveways require 5 to 6 inches.
Industrial floors often need 6 to 8 inches or more. Soft or unstable soil may require extra thickness or a stronger base beneath the slab.
Concrete Strength (PSI) Basics
PSI measures how much pressure concrete can handle before it fails. A range of 2,500 to 3,000 PSI works well for walkways and interior floors.
Driveways and garages call for 3,000 to 4,000 PSI, while commercial and industrial slabs often need 4,000 PSI or higher.
Matching the right PSI to the project affects strength, durability, and how long the slab lasts.
Reinforcement in Slab on Grade Construction
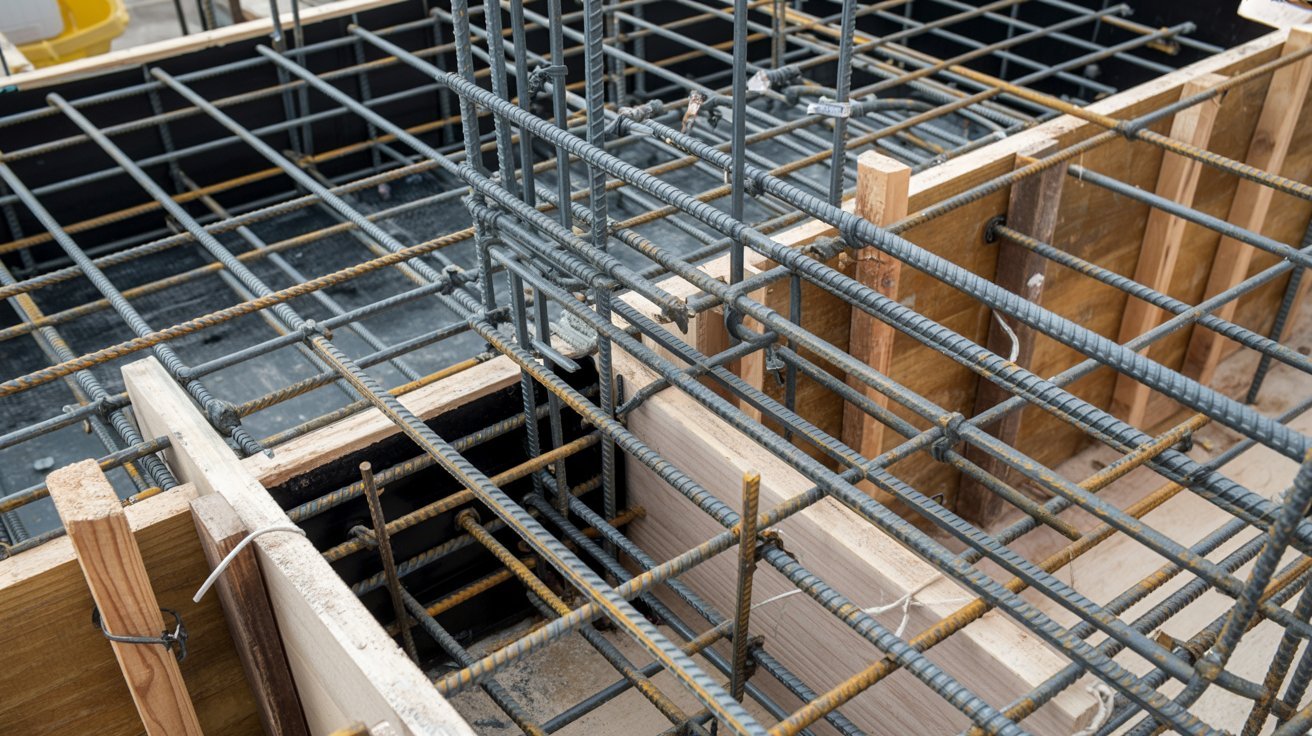
Reinforcement gives concrete slabs the strength to handle loads, stress, and ground movement over time.
Role of Rebar and Wire Mesh
Concrete handles pressure well but struggles with bending and stretching forces. Rebar is a steel bar placed in a grid inside the slab before pouring.
It resists bending forces that concrete cannot manage alone. Wire mesh is a lighter option that works well for residential slabs like driveways and patios.
The right choice depends on the project. Heavy use floors need rebar while light use slabs can work with wire mesh. Some projects use both for better control.
Why Reinforcement Prevents Cracks
Concrete shrinks as it dries and shifts with temperature changes, which builds internal stress.
Without reinforcement, that stress causes cracks that widen and spread over time. Steel holds both sides of a crack together and keeps the gap from growing.
Placement also matters. Steel set at the wrong height will not intercept stress where it actually forms inside the slab.
Moisture and Temperature Protection
ALT TEXT: Vapor barrier installation beneath a slab foundation.
Good moisture and temperature protection keeps your concrete slab strong, stable, and crack free over time.
Vapor Barriers
Ground moisture moves up through the soil daily. A vapor barrier is a plastic sheet placed under the slab before pouring.
Use a polyethylene sheet at least 10 mils thick and seal every seam. Even small gaps let moisture through.
Under Slab Insulation
Concrete pulls heat from the ground in cold months. Rigid foam boards placed under the slab slow that heat loss. Colder areas need a higher R value to keep floors warm and energy costs low.
Freeze Thaw Protection
In cold regions, ground water freezes, expands, and thaws repeatedly. This puts pressure on your slab every season.
Good drainage, proper insulation, and air entrained concrete all help reduce cracking and surface damage over time.
Common Problems in Slab Foundations
ALT TEXT: Concrete slab settlement caused by unstable subgrade soil.
Slab foundations face several issues over time. Spotting them early makes fixing them much easier.
Cracks and Why They Happen
Shrinkage cracks are thin and surface level, forming as concrete dries. Structural cracks are wider and form when the ground shifts unevenly.
Tree roots and temperature changes can also push against the slab and cause irregular cracking over time.
Settlement and Subgrade Issues
When soil beneath the slab moves, damage builds up fast. Clay soils shrink in dry weather, leaving the slab without support.
Poor compaction, water erosion, and plumbing leaks all shift the soil gradually and silently.
Spalling and Curling
Spalling is when the top layer of concrete flakes off. Water enters the surface, freezes, and breaks it loose.
Curling happens when slab edges lift while the center stays flat. Both problems get worse as water keeps entering through damaged areas over time.
Maintenance Tips and Long Term Care
A little regular care goes a long way in keeping your slab strong and problem-free for years.
- Clean surfaces regularly with a soft cloth to prevent dust and dirt from building up over time.
- Check for signs of wear each month and fix small problems before they turn into bigger ones.
- Keep all digital or mechanical parts updated so everything runs smoothly without unexpected issues.
- Store your setup in a cool, dry place and use covers or cases to protect it from damage.
- Follow a simple monthly care routine to stay consistent and reduce the need for costly repairs later.
Conclusion
Starting a slab on grade construction project can feel overwhelming at first. I remember feeling the same way before I understood the basics.
But once you break it down step by step, it all starts to make sense. Focus on good preparation, the right materials, and consistent care, and your slab will hold up for years.
Got questions or a tip from your own experience? Drop a comment below. If this helped you, share it with someone planning their own build!
Frequently Asked Questions
What is slab on grade construction and how does it work?
Slab on grade construction is a method where concrete is poured directly onto prepared ground to act as both the foundation and floor. It skips the need for a basement or crawl space, making it faster and more affordable to build.
How thick should a slab on grade be for a residential building?
Most residential slabs need to be at least 4 inches thick for general use. Driveways and heavier load areas may require 5 to 6 inches for proper support.
What causes cracks in a slab on grade foundation?
Cracks usually form due to soil movement, poor compaction, moisture changes, or temperature shifts over time. Using proper reinforcement like rebar and cutting control joints during the pour helps reduce cracking.
How do I protect a slab on grade from moisture damage?
Place a polyethylene vapor barrier at least 10 mils thick under the slab before pouring to block ground moisture. Sealing all seams carefully ensures no gaps are left open for water to pass through.
How long does a slab on grade foundation last with proper care?
A well built and properly maintained slab on grade can last 50 years or more without major issues. Regular inspections, sealing surface cracks early, and keeping drainage clear are the best ways to extend its life.